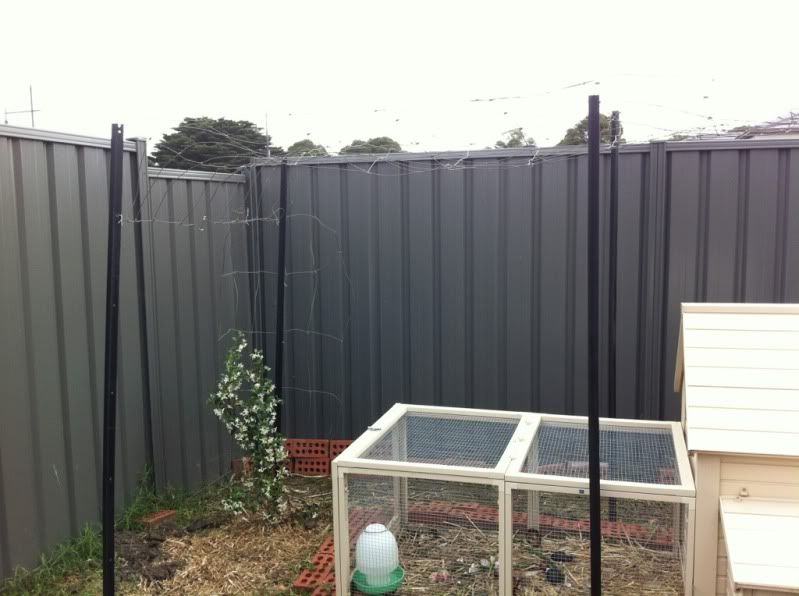
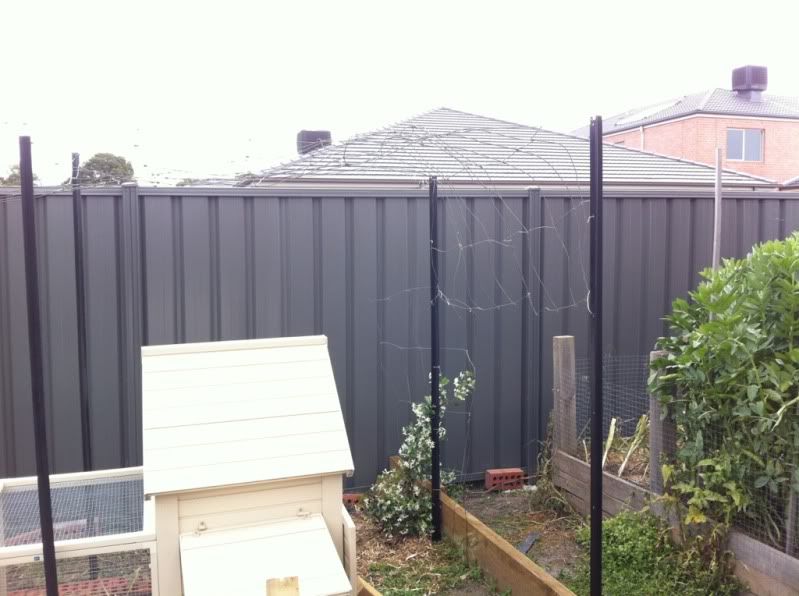
I have built a wire frame/arch over the top of my chicken coop to grow Star Jasmine over it to provide the chicken coop with some much needed shade - oh and it smells AWESOME!
Last weekend I set out to build it but had a bit of a setback when one of the star pickets I was using fell down and hit me in the head which resulted in concussion.
Yesterday I got the job finished! It took about 2.5 hrs to get it done and I must say I'm actually happy with the resulting look, I just hope that it's strong enough to stay in place.
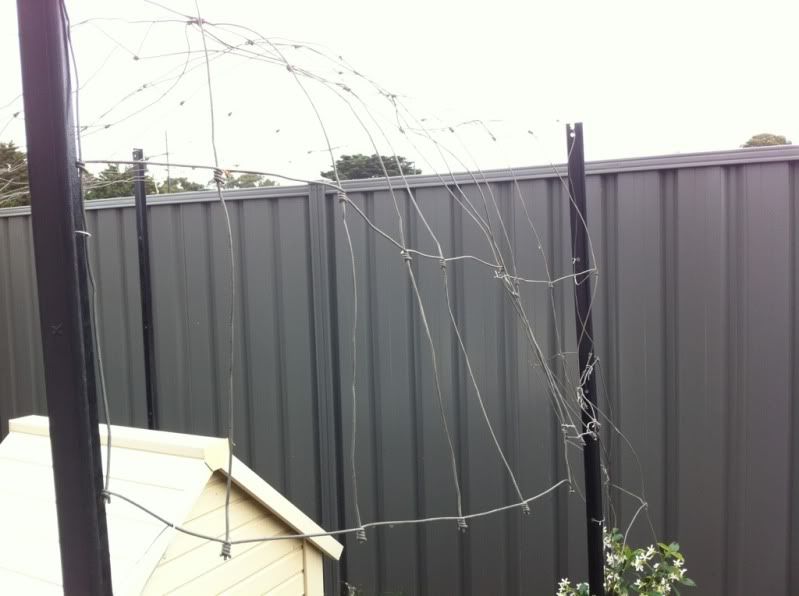
I got given the wire from a friend, it was sitting behind his mum's garage and it was just going to be thrown out - awesome! It was about 10-11m long and 70cm wide, so to cover the entire width of the chicken coop I had to cut 2x4m lengths and then join them side by side to make it 1.4m wide.
After doing that I then had to figure out how I was going to get the wire up onto the star pickets, on my own, which are at a height of 1.8m - string was the answer I came up with. I ended up running string between the star pickets to make a kind of net to try hold the wire up where I needed it until I had secured it to the star pickets. It worked wonderfully :D
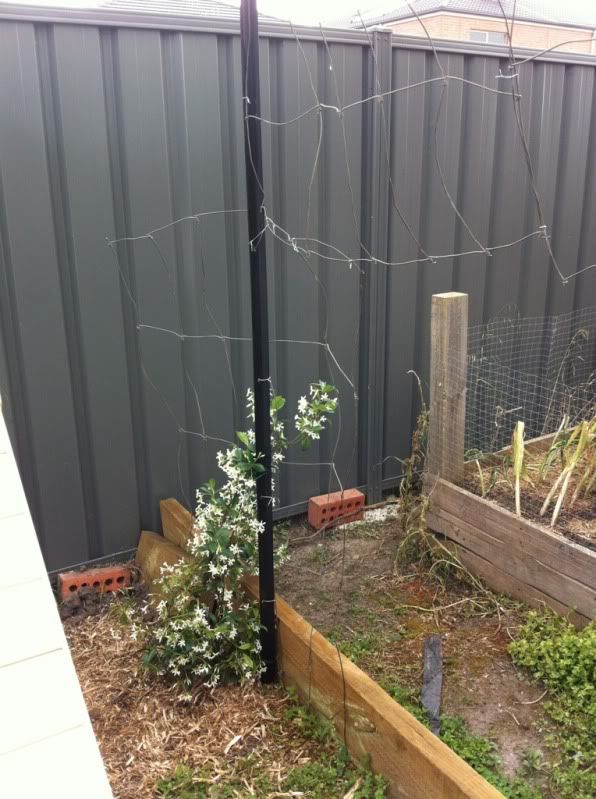
After I had secured the wire in place and tried to re-shape it a bit I then had to work out where I was going to plant the two Star Jasmine plants so that they wouldn't be in the way of being able to clean the chicken coop and then run some more wire down to that spot to provide a climbing path up to the rest of the wire. That done and then the plants planted and this is the result
It was a bit hard to try to get photo's as the wire blends into the background a bit, which is good but you can see the star pickets to see how big it is
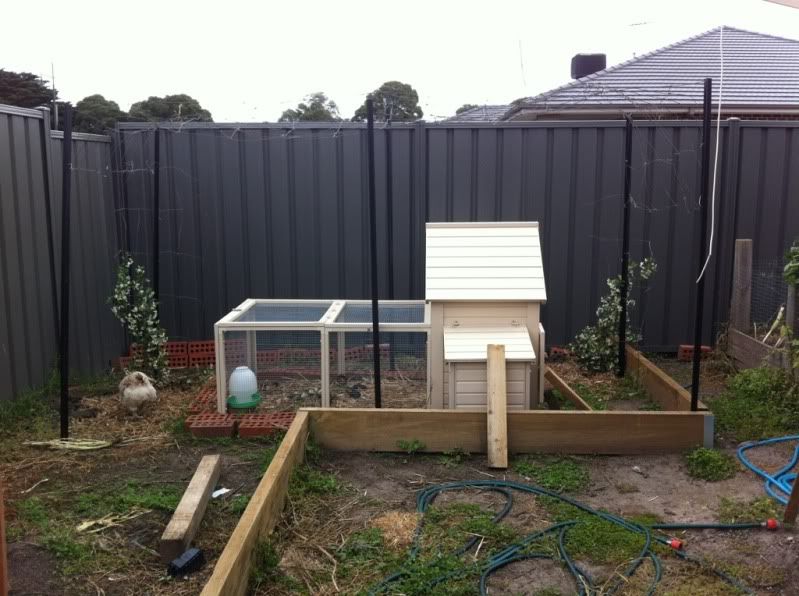
I didn't want the main bit of wire going all the way to the ground so that both myself and the chooks could get underneath it and that was mostly so that I still had room to clean out the coop
Star Jasmine
Chooks checking out the new plants and scratching around the pea straw mulch
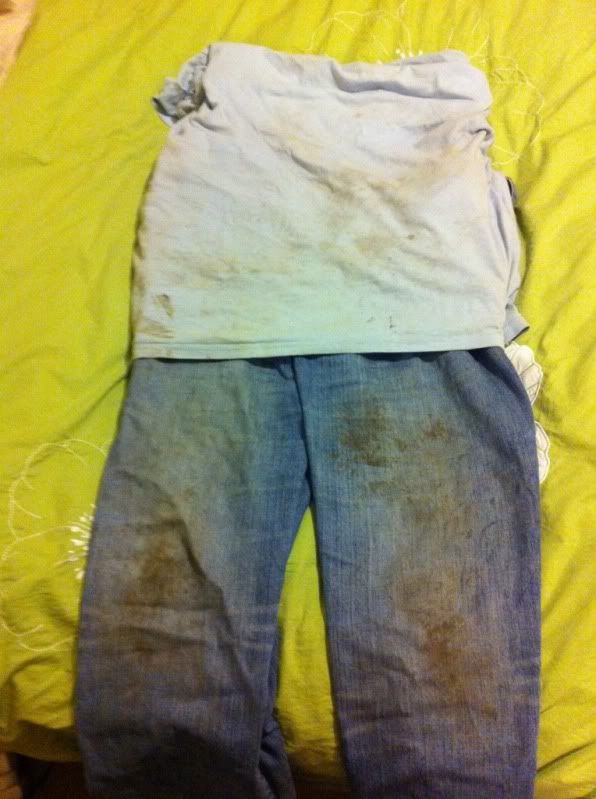
My clothing after yesterdays efforts - nice and clean ;)
This blog will be all about my adventure in my backyard - join me while I try to learn about growing vegies for the first time and creating my backyard from scratch. It may also contain traces of home cooked food
Showing posts with label DIY. Show all posts
Saturday, November 12, 2011
Friday, October 14, 2011
Chook Proofing The Backyard
I've had my chooks for 2 weeks now and they are settling in quite well. I haven't let them free range yet as I needed to do some work around the yard first and today that got done. I also had a friend come around and help me clip their wings so they wont try to fly away.
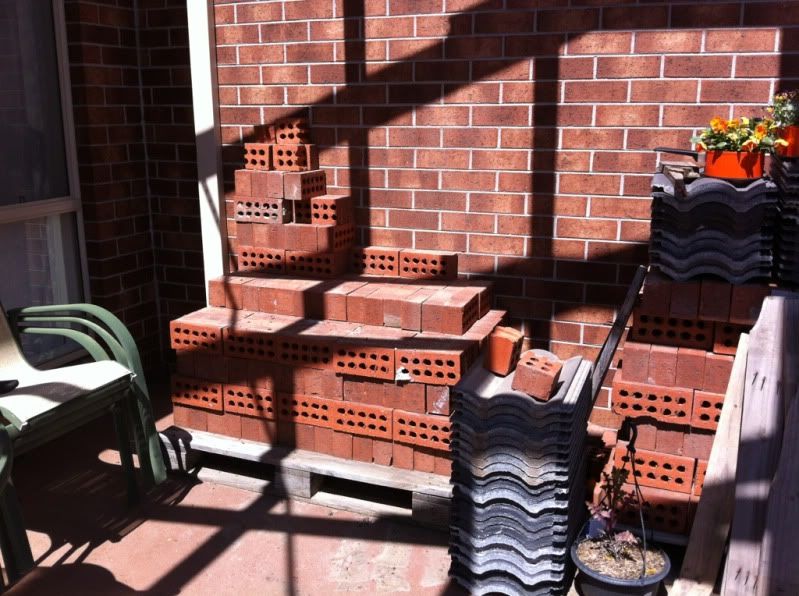
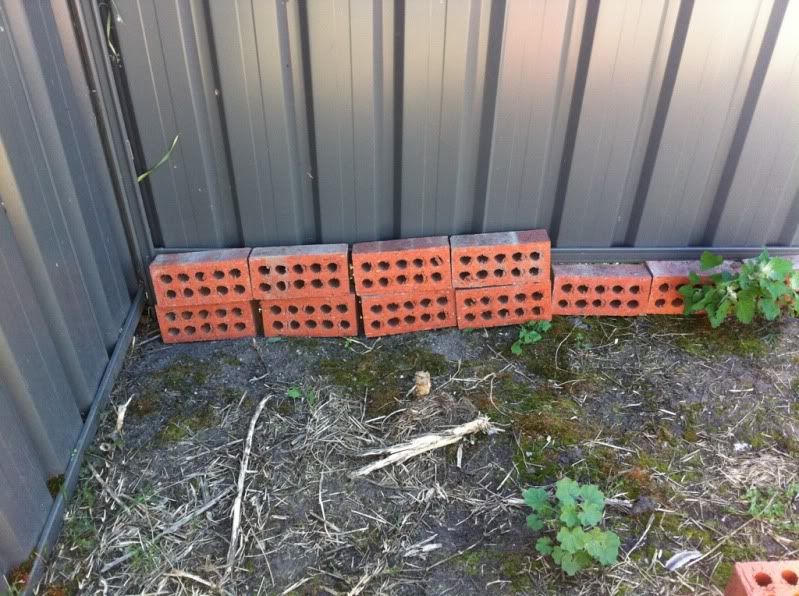
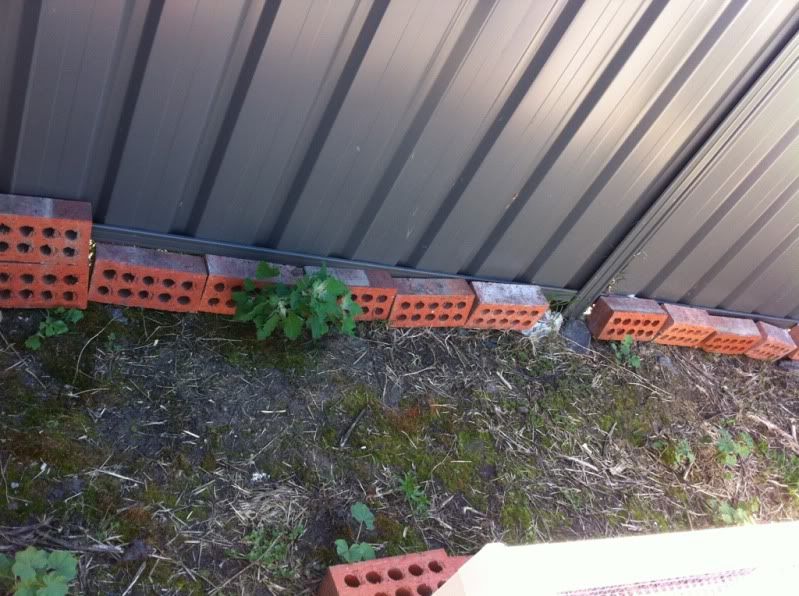
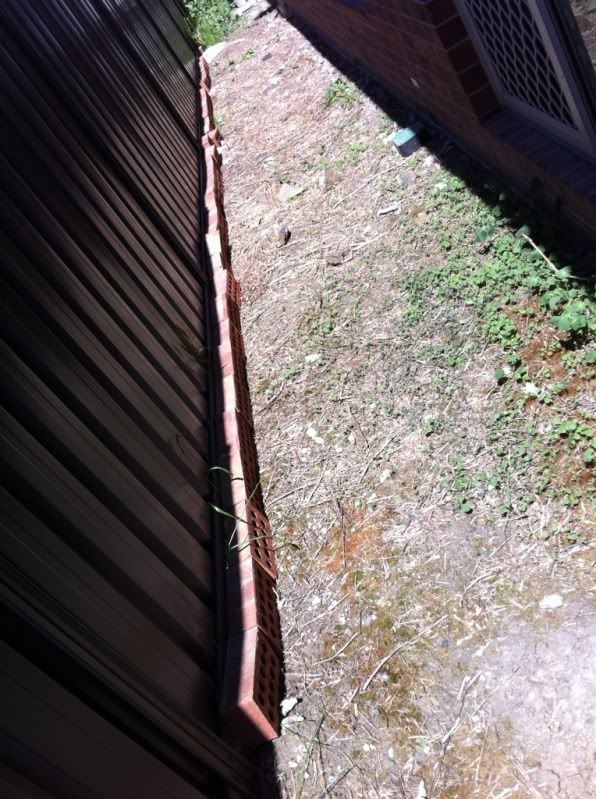
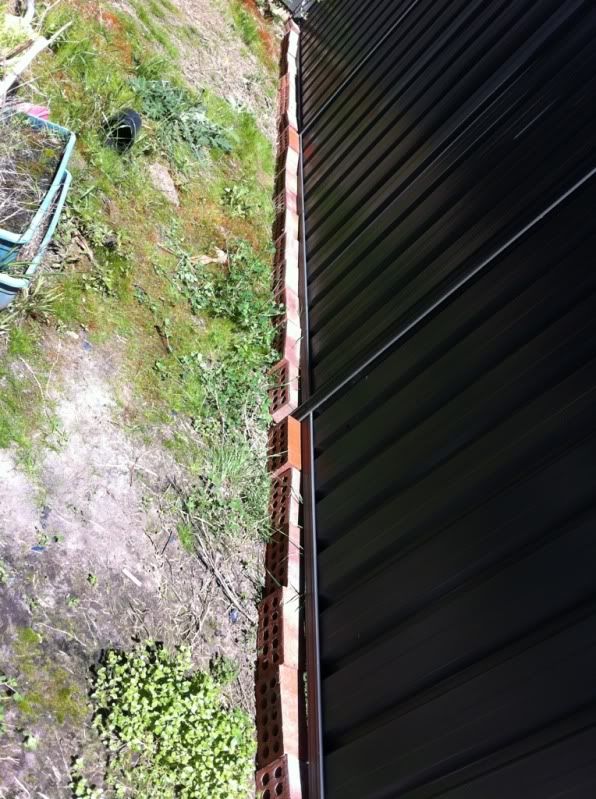
To chook proof the backyard I needed to block up all the gaps under the fence and I finally got around to doing it today.
This pile of bricks was as high as the top one that you can see - that's a lot of bricks that I moved and it probably wasn't a good idea considering I have severe tendonitis in both my thumbs, oh well - it had to be done.
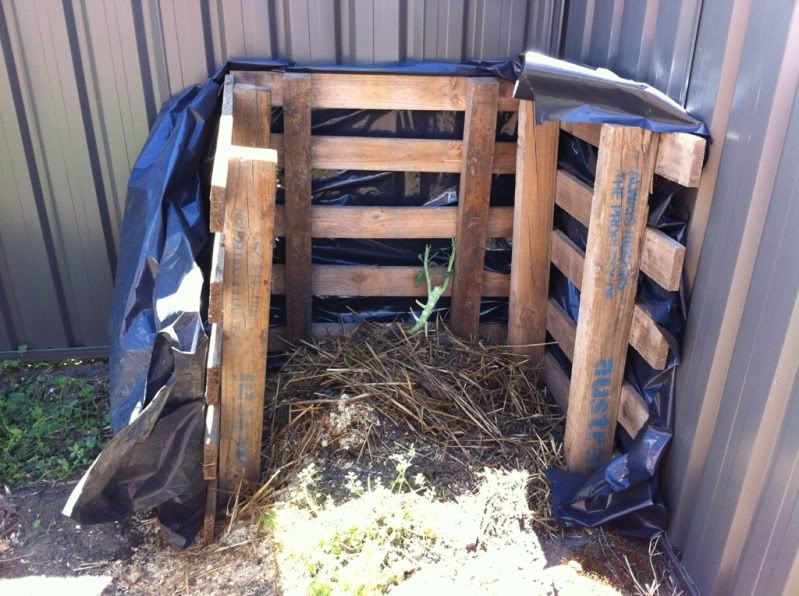
I also built my compost bin - it's 3 pellets with black plastic around the outside to stop it from being in contact with my colorbond fence
To chook proof the backyard I needed to block up all the gaps under the fence and I finally got around to doing it today.
This pile of bricks was as high as the top one that you can see - that's a lot of bricks that I moved and it probably wasn't a good idea considering I have severe tendonitis in both my thumbs, oh well - it had to be done.
I also built my compost bin - it's 3 pellets with black plastic around the outside to stop it from being in contact with my colorbond fence
Saturday, July 2, 2011
2 New vegie beds + latest seedlings
So I've been busy in the vegie garden of late - here's what's been happening
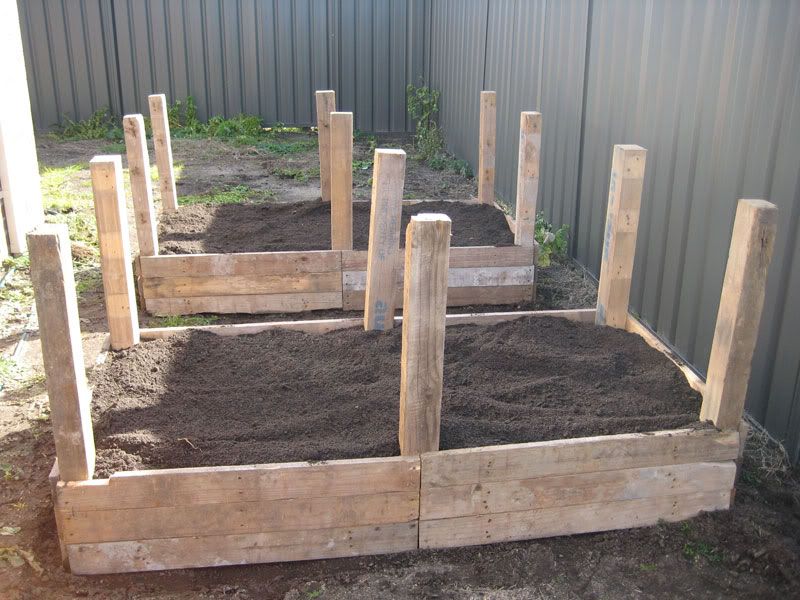
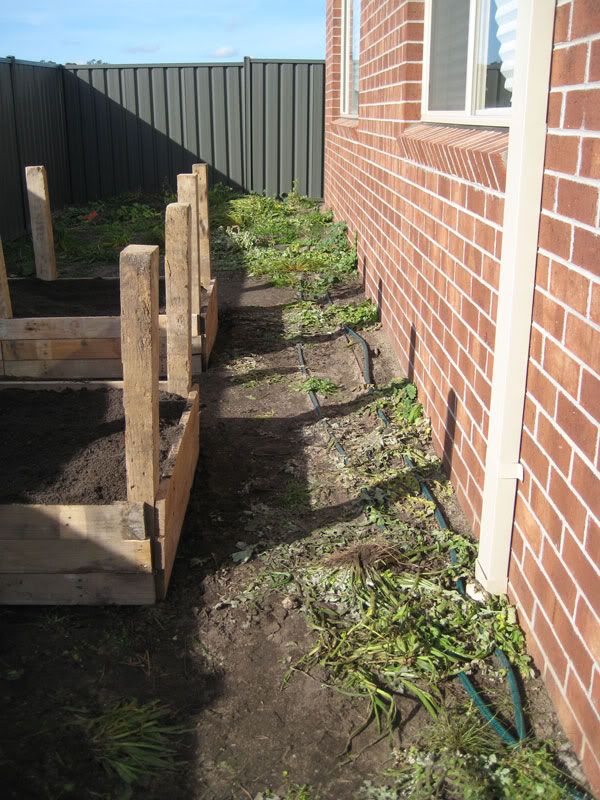
A few weeks ago I built more vegie beds
Last week I got 1m3 of soil delivered to fill them up ready for planting
Here are my onions and garlic that I planted a while ago - can't remember when but they are going well
2-3 weeks ago I planted a second round of garlic and onion and they popping up well. I also planted broadbeans and they have started to sprout too
Broccoli and cauliflower that I planted at the same time as the first lot of garlic and onions are doing great. Today I added some onions and garlic to fill up the empty space
Today I also planted the first lot of vegies in the new beds
Leeks:
Snow peas
Spinach and spring onions
More broccoli
More cauliflower
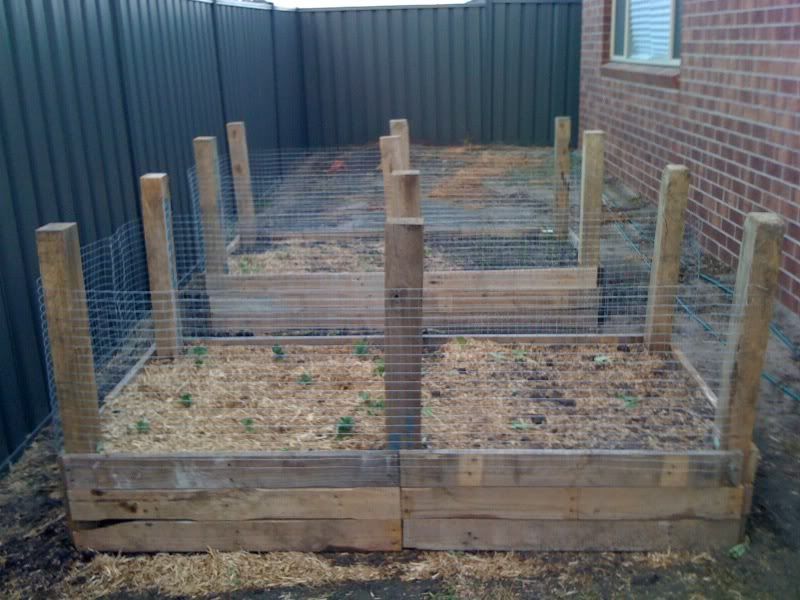
The new beds are also all now rabbit proofed with wire around them
I also planted garlic in most of the beds to fill in spaces etc
A few weeks ago I built more vegie beds
Last week I got 1m3 of soil delivered to fill them up ready for planting
Here are my onions and garlic that I planted a while ago - can't remember when but they are going well
2-3 weeks ago I planted a second round of garlic and onion and they popping up well. I also planted broadbeans and they have started to sprout too
Broccoli and cauliflower that I planted at the same time as the first lot of garlic and onions are doing great. Today I added some onions and garlic to fill up the empty space
Today I also planted the first lot of vegies in the new beds
Leeks:
Snow peas
Spinach and spring onions
More broccoli
More cauliflower
The new beds are also all now rabbit proofed with wire around them
I also planted garlic in most of the beds to fill in spaces etc
A quick catch up on what I've already done
I decided to build my vegie beds out of pallets that I had found laying around the estate that I live - it was a great way of recycling and also saving $$'s.
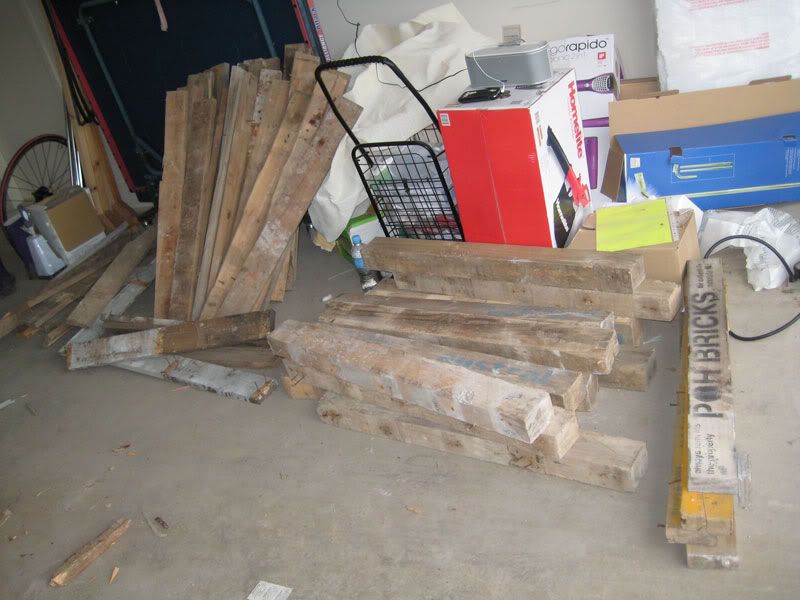
First of all, you need to imagine a pile of pellets!
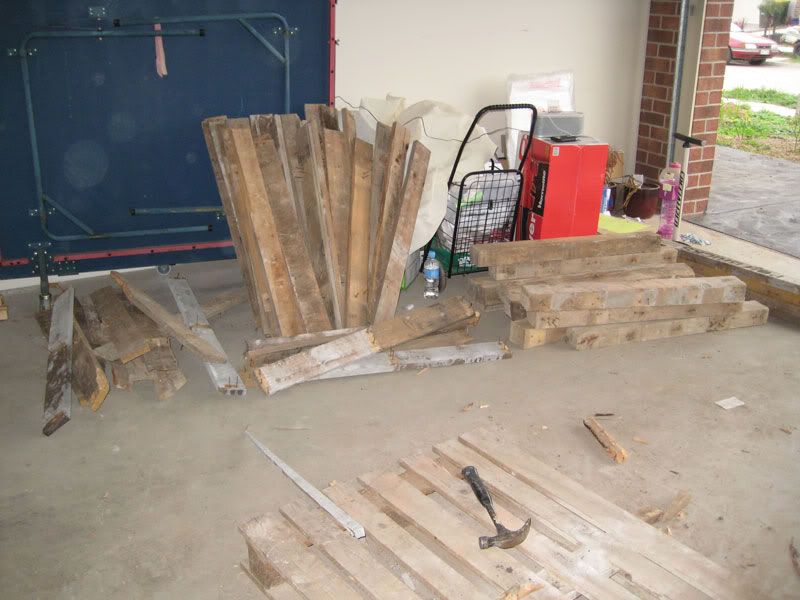
Wood from the pellets that I pulled apart!
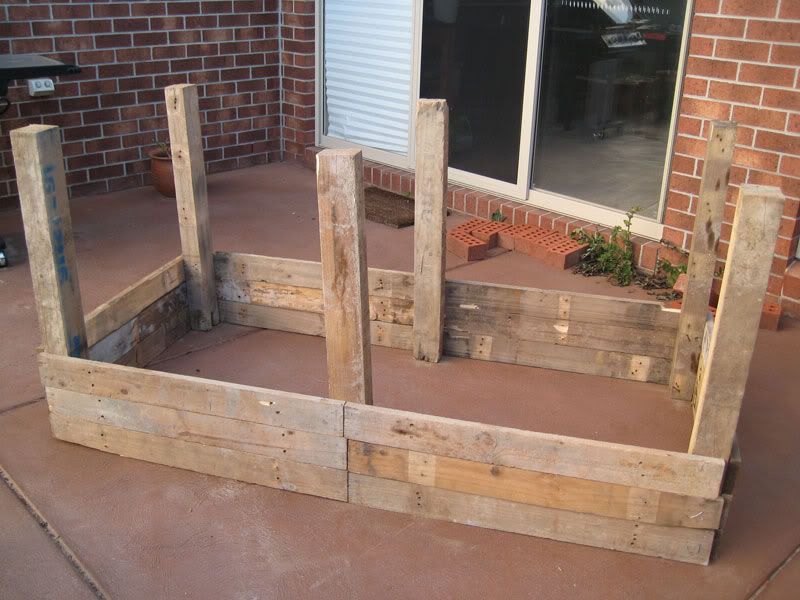
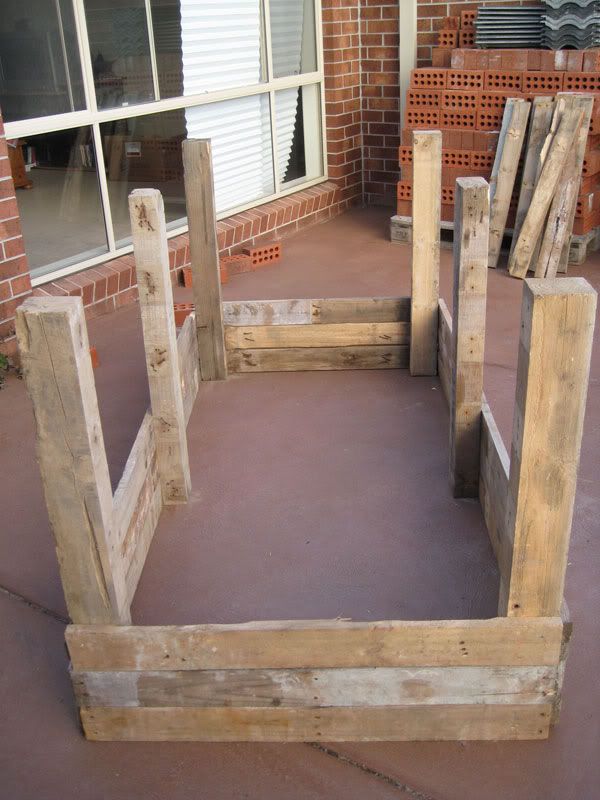
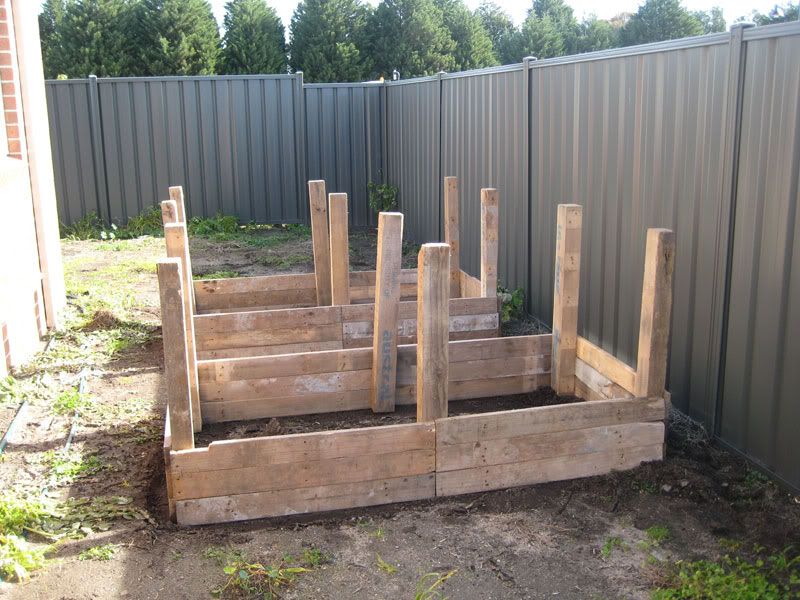
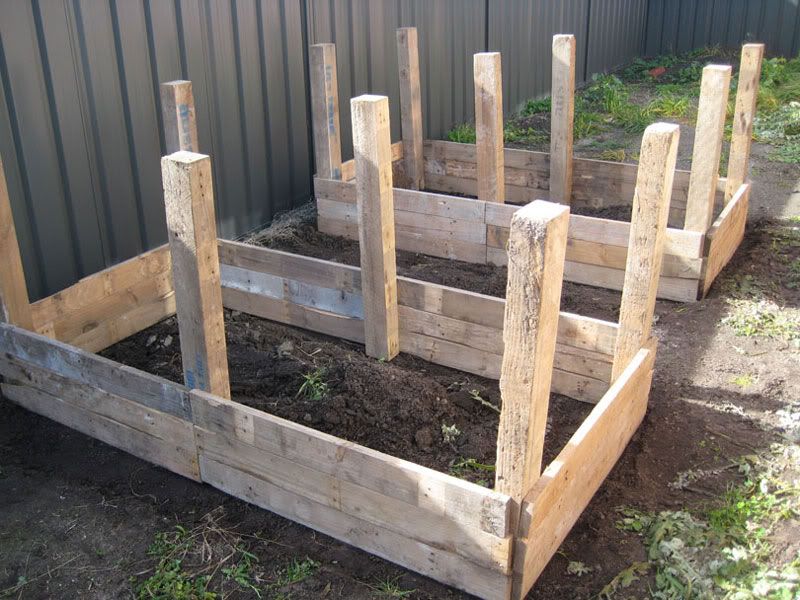
The wood was then re-constructed into vegie beds! I originally considered cutting down the middle pole, but changed my mind as they will be really useful for things like shade cloth and lines for growing plants such as beans and tomatoes etc to grow along
It took a lot more work than expected pulling apart the pallets and re-assembling them, but I really do like what I achieved! They are certainly unique!!
I then had to put then into place and make sure that they were level
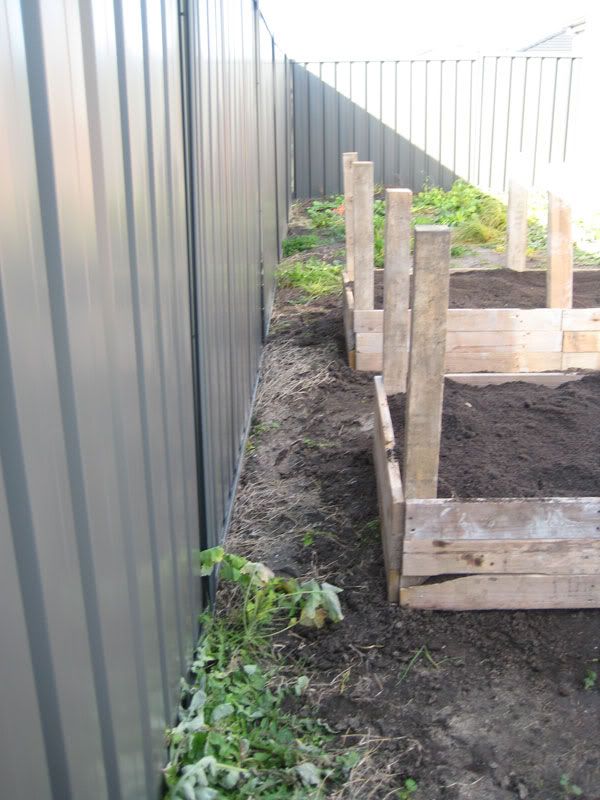
I also made sure that there was enough room for the wheel barrow to get past
But that didn't leave much room on the other side - it's good to use as much space as possible though
After planting my first lot of seedlings I soon discovered that the local wild rabbit population found them to be quite tasty :( They also tried to dig to China in the middle of them so I came up with some rabbit proofing
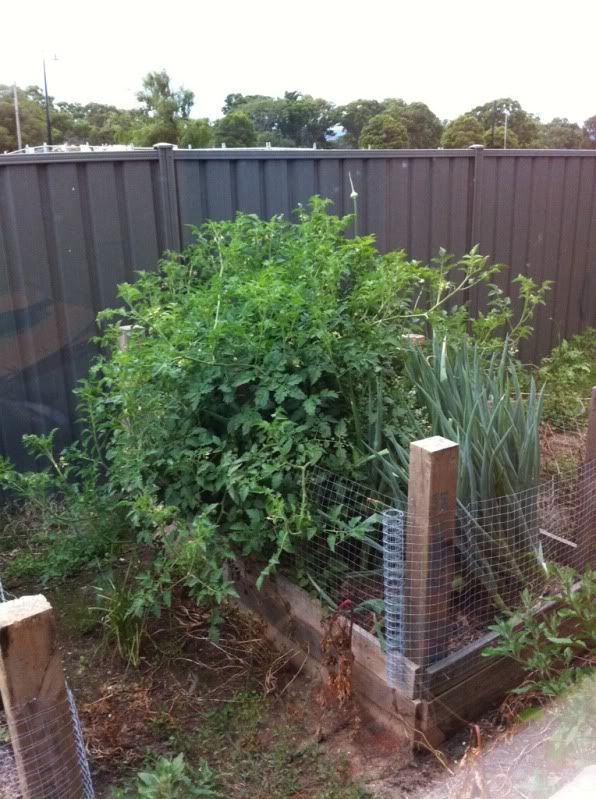
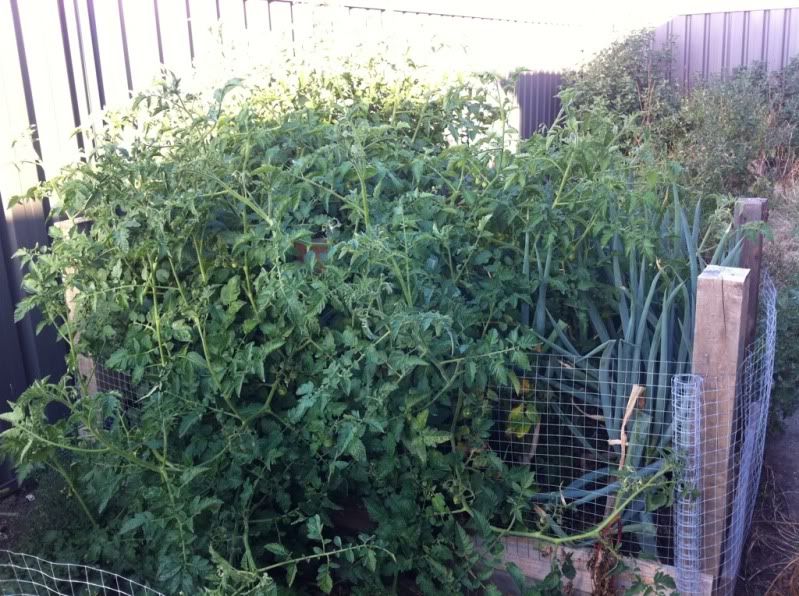
Over summer I had quite a successful crop of tomatoes, leaks and celery and they all went a bit wild and I got scared of my vegie patch - it was taking over the world! (of course the humid and rainy summer we had played a big role in that)
First of all, you need to imagine a pile of pellets!
Wood from the pellets that I pulled apart!
The wood was then re-constructed into vegie beds! I originally considered cutting down the middle pole, but changed my mind as they will be really useful for things like shade cloth and lines for growing plants such as beans and tomatoes etc to grow along
It took a lot more work than expected pulling apart the pallets and re-assembling them, but I really do like what I achieved! They are certainly unique!!
I then had to put then into place and make sure that they were level
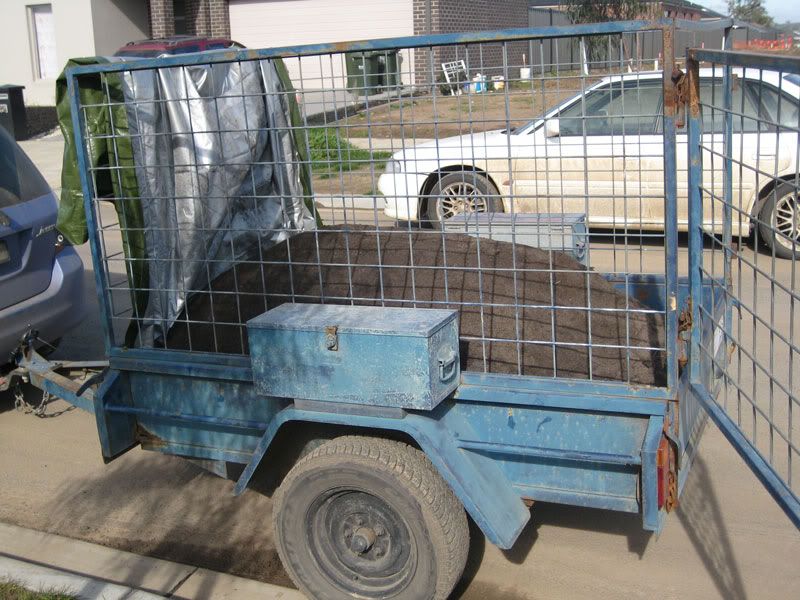
I then got a trailer load of Vegie Mix soil from Bulleen Art and Garden and filled them up ready for planting.
I also made sure that there was enough room for the wheel barrow to get past
But that didn't leave much room on the other side - it's good to use as much space as possible though
After planting my first lot of seedlings I soon discovered that the local wild rabbit population found them to be quite tasty :( They also tried to dig to China in the middle of them so I came up with some rabbit proofing
Over summer I had quite a successful crop of tomatoes, leaks and celery and they all went a bit wild and I got scared of my vegie patch - it was taking over the world! (of course the humid and rainy summer we had played a big role in that)
Subscribe to:
Posts (Atom)