Friday, September 30, 2011

I now have chooks!

That's right, I am now the proud owner of chooks! After sending her several emails over the past few months I finally went and visited Bianca at Abundant Layers in Emerald and came home with 3x 8 week old Salmon Faverolles! I had been put onto this bread by a person at my local Pet Stock as they become quite heavy and don't end up flying and due to their fluffy feet they don't destroy the garden as much with their scratchings. Plus I also really like the colourings of them - they are a nice soft colour.

As they are only 8 weeks old it will be 10-12 weeks before eggs but that's OK cos they are SO CUTE!! I'm loving the noises that they make :D

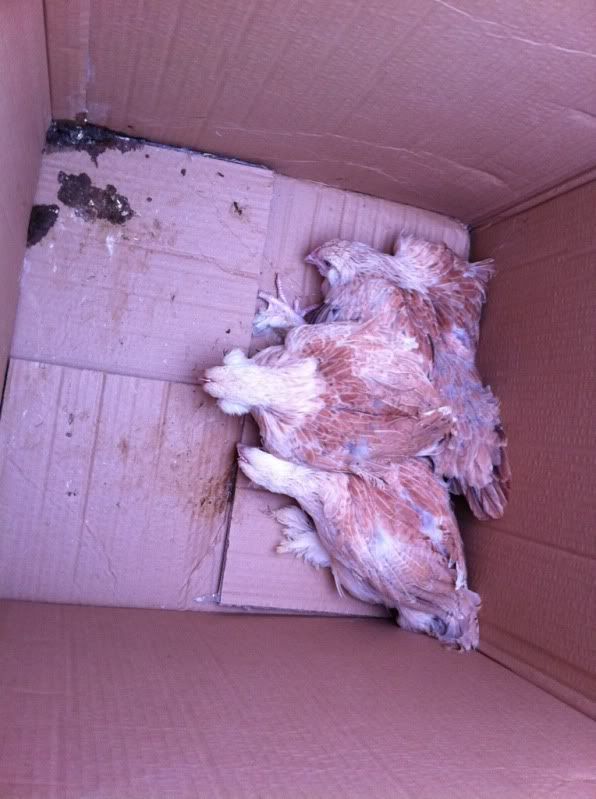
Here they are in the box I transported them in. They were so cute in the car with their little noises that they make, but they didn't really like it when the car stopped and then took off again as I figure they had no grip in the box and were sliding around

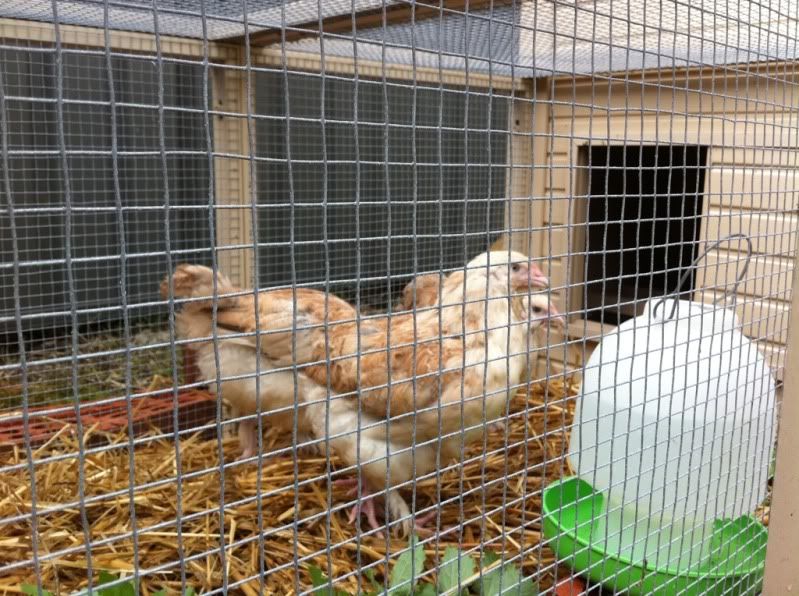
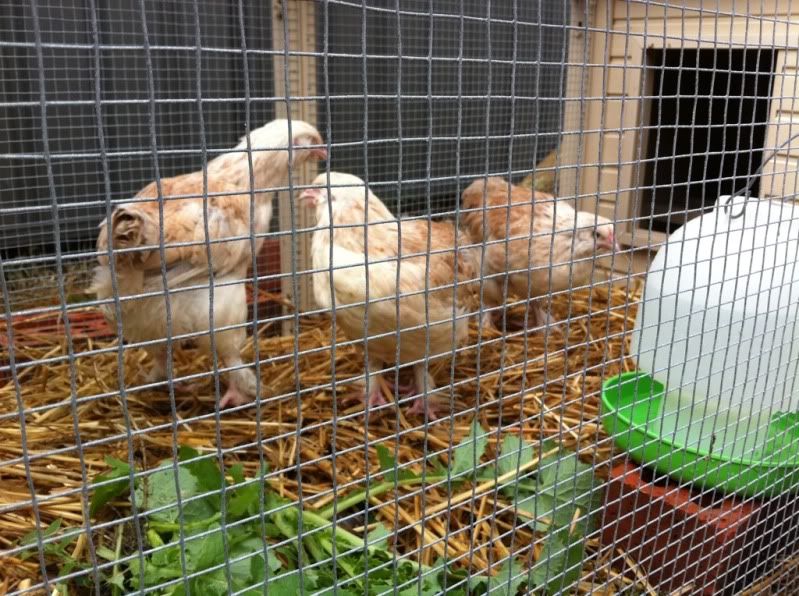
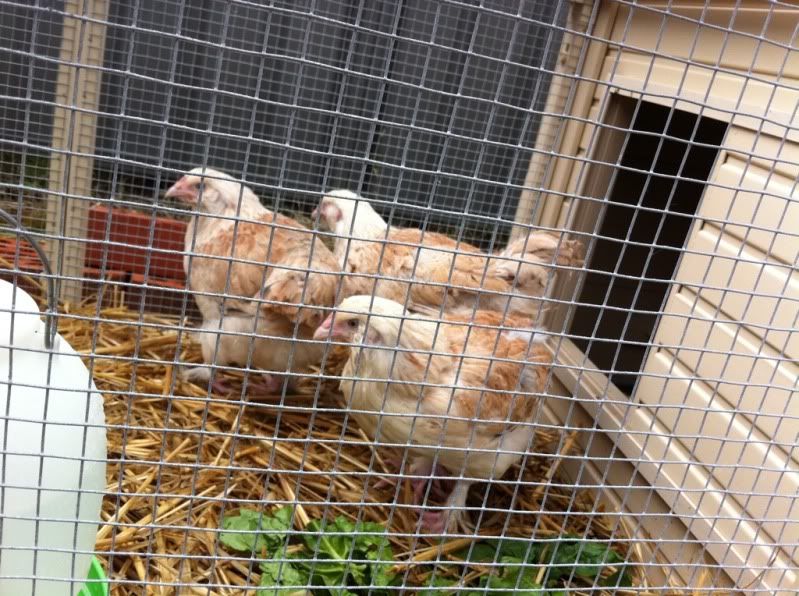
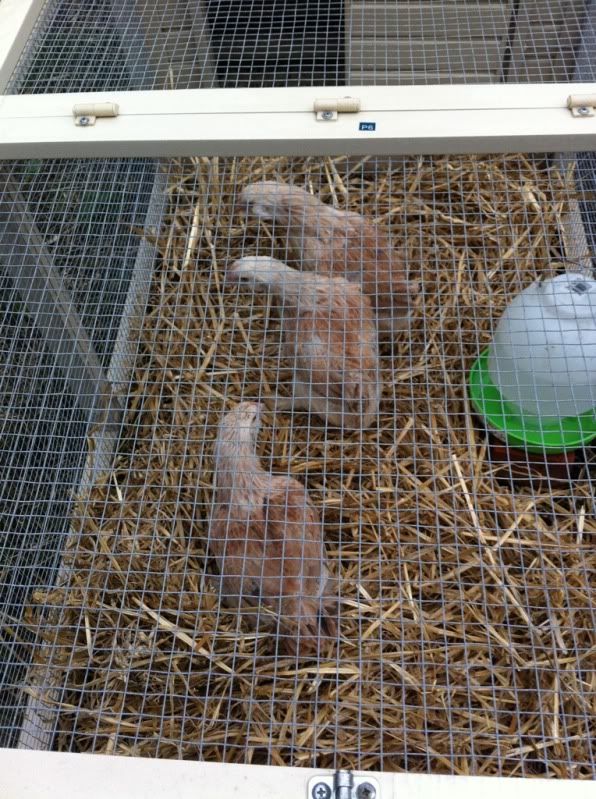
Here they are just after I put them in their run after having spread straw, wood shavings in their house and put food and water out

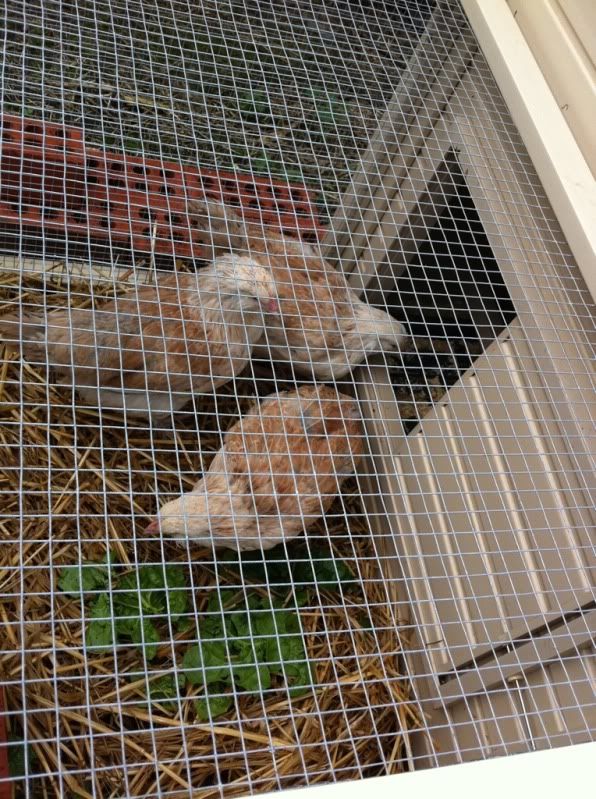
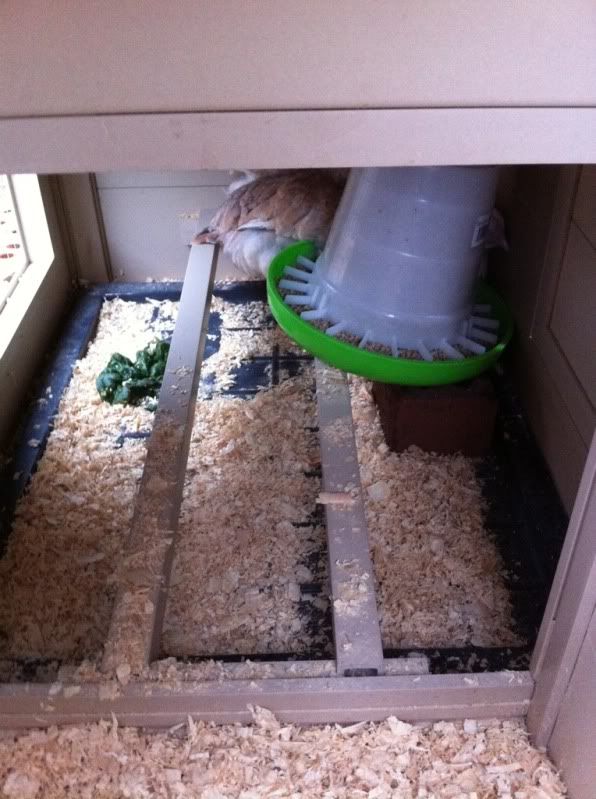
After I finally encouraged them into their house and out of the rain, they tried to hide in the corner of their house behind their food. Having their food inside their very secure house not only keeps it dry for them but also will stop mice etc from getting to it (hopefully!)

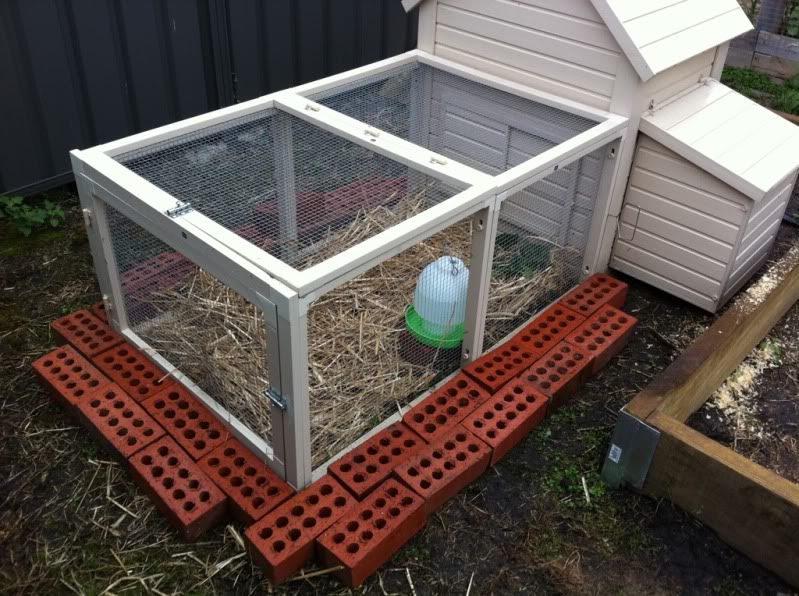
As there is nothing on the bottom of their wire run area I have put bricks around the outside of it to stop foxes and other animals from trying to dig in

Last night there was a LOT of rain, I was worried for the welfare of my chooks but figured that tough love was needed - they were all still alive this morning when I opened the door to their run - YaY!

Here are some pics from this afternoon - they are finally brave enough now to scratch around outside in their run area and have I mentioned that they are so CUTE??!


Monday, September 19, 2011

Tomato Seedlings - Finally!!

After 23 days of diligently spraying and misting my first planting of tomato and corn seedlings I finally have some sign that it's been worthwhile!! It also helps now that the weather is getting warmer.
I have 2 Beefsteak tomato seedlings and 1 Tommy Toe seedling showing some life!

Look how tiny they are:

Broccoli Side Growths

A few ppl have told me to not let the little broccoli side growths get too big, that I should cut them off and eat them while they are small. I decided to find out myself and let one grow and eat it. The result? well it tasted like broccoli and a lot better than store bought one so I'm going to let my side growths keep growing

This is how big it grew to

Monday, September 12, 2011

Vegies Update 12/09/11

Time for some updated pics of my vegies in my patch! I should add that I've now picked all the broccoli off my original 6 plants. They do have side shoots happening and I'm not sure if I should let them get big or eat them small - anyone?

I took these pics yesterday afternoon and the sun was being a bit annoying, so sorry about tht

Onion and Garlic - they are still going strong

The second lot of onions and garlic are slowly getting there

My broad beans are flowering and still putting on some height - I'd like them to get a bit taller though before they fruit but I wont get a say in it, I had to add some more string

My first lot of cauliflower is still growing big yet no sign of the cauliflower head - hopefully soon

This is one of the broccoli offshoots - to cut now or let it grow bigger?

I have a bonus leek growing! This must have been from last years crop - bonus!

This seasons leeks are getting tall now and slowly getting thicker

Snow peas are also getting quite big and needed some more string to grow on and if you look closely you can see a flower or two

Spinach is getting big - I really need to cut these bigger leaves off

Spring onions are almost at a point where I could start eating them I reckon

My second planting of broccoli are getting big, I reckon a head will start poking out soon

The second planting of Cauliflowers are also getting bigger and I think I may have finally stopped them being eaten by the snails cos I squished them with my boot!

And finally - my potted colour are doing well :D

Sunday, September 11, 2011

Origami Paper Seedling Pots & Home Made Hot Box

On Friday I was doing some garden reading online and one of the sites that gave me a great idea was Scarecrows Garden Blog. I saw these origami paper pots that she was using to grow her vegie seeds in. They looked great and an awesome re-use of of newspaper. Scarecrow provided a link to the site where she got the idea from and here it is - check them out at No Ordinary Homestead

On Friday I also saw an article on Gardening Australia about making a hot box for growing seeds. It got me thinking about my seedlings and the greenhouse that I have them in and I came to the conclusion that I needed a hot box. Being the re-use kind of person I am (read: tight arse) I tried to come up with an idea that would be a bit cheaper. After a visit to a local Green Grocer for some polystyrene and a visit to Bunnings for some bubble wrap I had everything I needed. As an interesting side note did you know that bubble wrap was originally designed for greenhouses? Well neither did I until my friend Jayne pointed it out so I was pretty impressed with my decision to use bubble wrap.

So onto the photos

The first lot of pots I made while following the youtube clip were kinda big, I realised after making about 5 that they would be too big for what I needed, so then I halved the size of the paper and ended up with a much better size

The great thing about these pots is that you can then store the flat ones inside one that you've folded out

Even though I was using a pen to do the fold lines, after making over 30 pots my fingers ended up quite black

In one polystyrene pot I have 7 Roma tomato pots, 7 Tommy Toe and 7 Beef Steak. I decided to put 2 seeds in each one just to cover any that don't germinate

This one has 7 Sweet Corn but only one seed in each one here

After watering them in I then put some bubble wrap over the top and tied it down with some string. i've put them in a sunny spot against the house bricks as the bricks will hold some warmth

Lets hope that it all works well cos the seeds in my greenhouse in the egg cartons haven't sprouted yet but I think that's cos it just isn't warm enough in there.

Saturday, September 3, 2011

A New Rosemary Plant

Today I got given a number of free things from friends - one of them being a Rosemary Plant! Thanks Wayne!! The other things I got free were Dahlia tubers (thanks Kirsten!)and some empty milk cartons (thanks Ian!).

The first thing I did when I got home was go to put it in a bucket of water and seasol mixture but then I realised that I didn't have a bucket big enough. After asking my neighbours I got one of those giant plastic drinks tubs


While the Rosemary was soaking I found a suitable place for it to live

I dug the soil over and added two bags of compost to help build up the height a bit, I saw so many worms in the soil - it's great to see

I cut about 1/4 to 1/2 off the bush and then planted it, watered it in well and then mulched

Today I also picked another 3 broccoli - here they are with the Rosemary

I decided that I had far too much Rosemary to use any time soon so I bundled them up and have hung them up in my garage from a bit string I tied to my roller door

I also gave a bunch to next door for the use of their tub :D